Supplies Needed:
PS
Tubes of Choice
I used the artwork of FTU Artist Adam braun
You can find him at: http://www.adambraunart.com/ orhttp://abraun.deviantart.com/
FTU Scrap Kit: Delicious Scraps, Fun Kit
Font of your choice
I used Monsieur La Doulaise Font
*Sorry it's a pay font*
Open Photoshop File>New
5. Select gradient tool select inside of the big frame and on new layer add the gradient into the selection and set that layer to soft light.
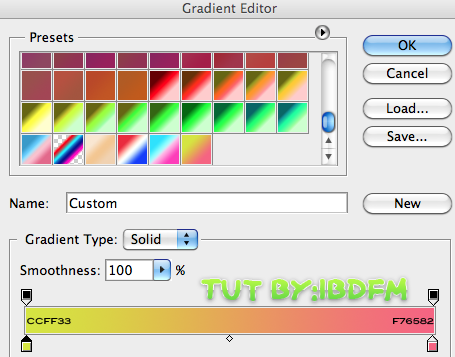
Hit ok
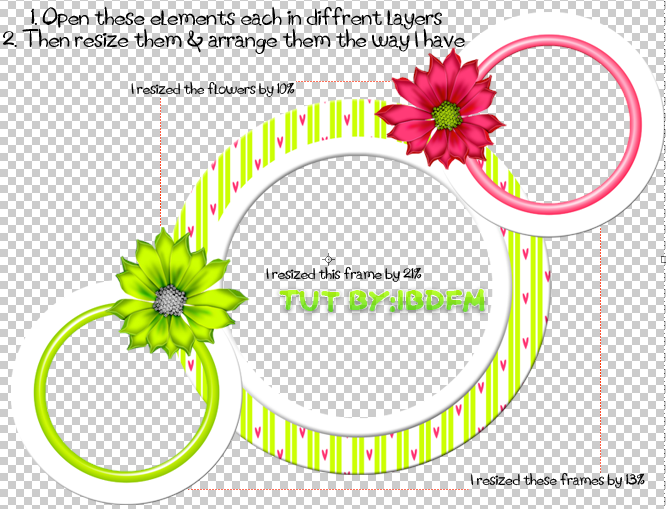
6. Next I made another layer this time with the inside of the 2 smaller frames being selected and used the same gradient but set this layer to Screen, Opacity:95%
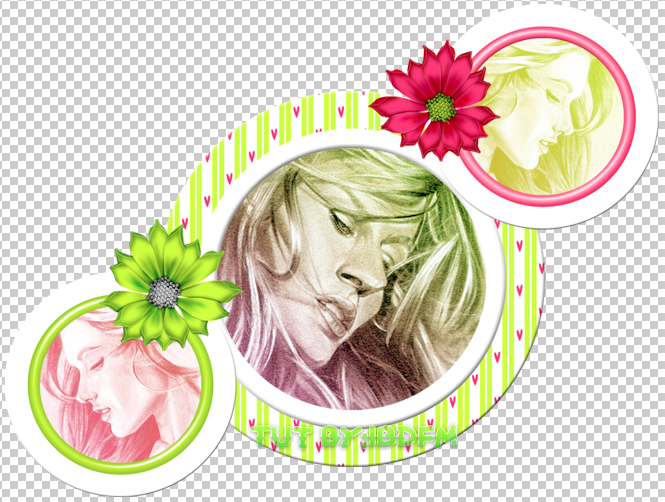
Here is what it should look like so far:
7. I added a mask on a new layer on top of the middle tube layer but below the gradient and set mask layer to screen.
Freebie

*Right click & save*
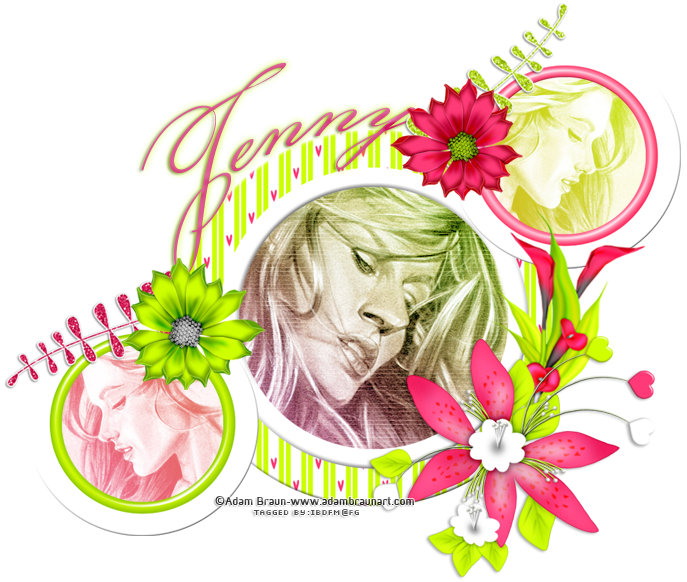
8. Then I added the rest of the elements and drop shadow on some
and add the copyright info :)
Here is the settings I used for my name (Jenny)
Drop shadow
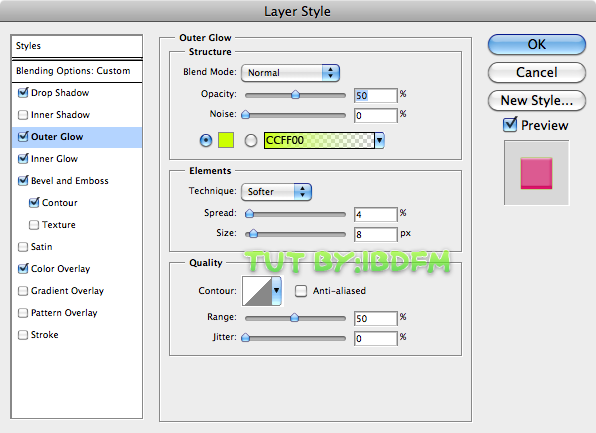
Inner Glow
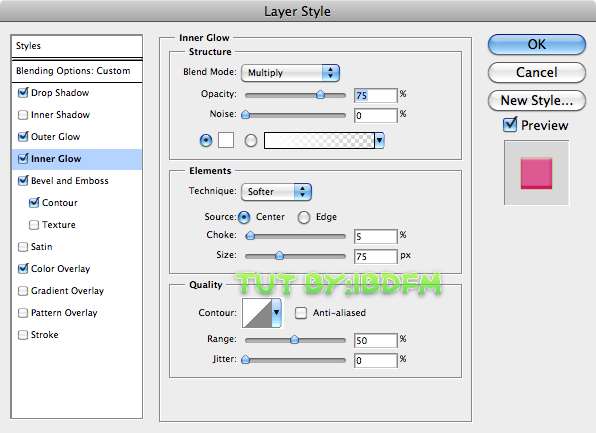
Bevel
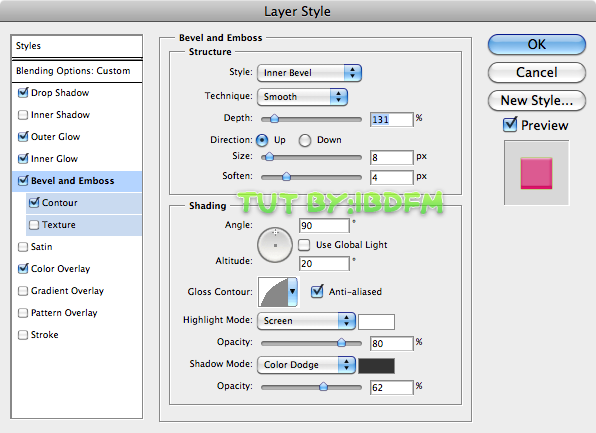
Contour
And your Done ;)

P.S. Can’t wait to see some examples of what you ladies have done :)


No comments:
Post a Comment